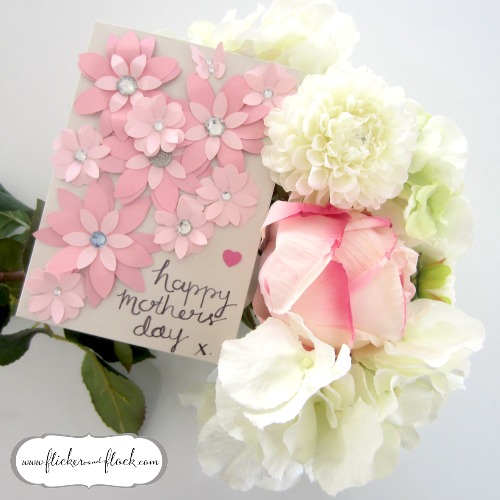
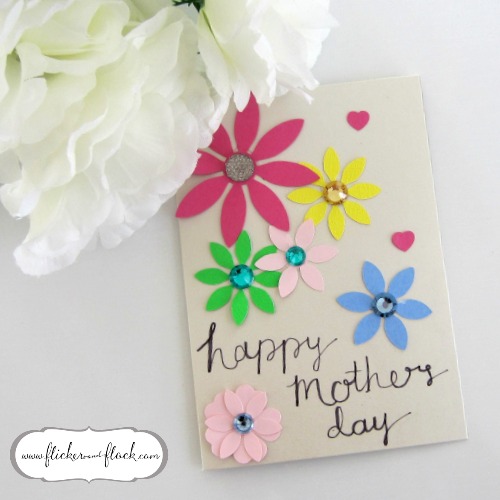
Paper flowers seem to be blooming all over the place, so I just had to make my first bouquet for this DIY paper flower card for Mum this Mother’s Day!
This special Sunday in May ensures cafes across the country are packed to the rafters + breakfast trays are dusted off for the important morning duties. For me, Mother’s Day is special because I get to celebrate + spoil + thank my beautiful Mum, my lovely Step-Mum + my amazing Mother-in-Law for everything they are and everything they do. [I must say, the sleep in and night off dinner duties is pretty great for me too!]
However + whoever you’re celebrating this Mother’s Day, if you haven’t already organised something amazing for your Mum you better get cracking on this DIY paper flower card pronto! Luckily it can be whipped up at a moment’s notice, with minimal supplies, and maximum thought-that-counts impact.
What you’ll need:
- Scissors
- Glue (I used basic PVA craft glue)
- A4 paper – of any colour or colour combo that you like
- A blank greeting card or piece of folded card
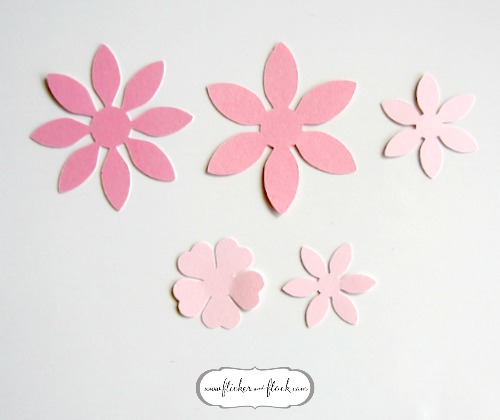
- Flower template – you can use mine or there’s plenty of others that you can find via a simple Google search
- (Optional) Diamante stickers to decorate
How to make it:
Print out your flower template onto your paper. I used soft pink paper for the small flowers (template here) and gradual shades of pink for the larger flowers to create an ombre effect, but you could simply use white or neon or patterned – whatever you think Mum will like! Then, carefully cut out the individual flower pieces. You could also use your Silhouette or cutting machine to do this for you if you have one.
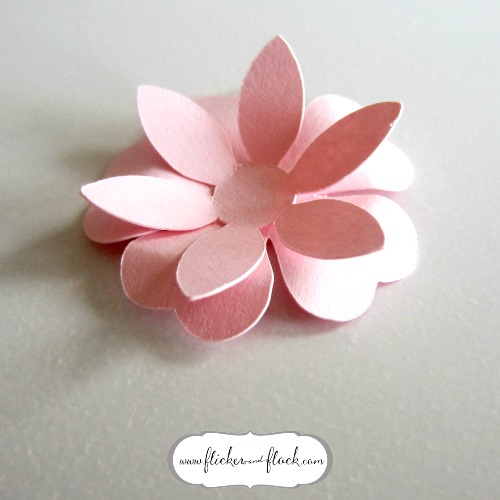
To assemble your flower, start with the biggest piece, then take the next biggest piece and glue it’s centre on top of the centre of the biggest one. Try and overlap the petals so that there’s minimal gaps and the flower looks fuller.
Once these two pieces are together, repeat with the next biggest and so on until you’re happy with how your flower looks.
The template I’ve given you is a simple two-step combo (below), the ombre flower I did (above) had three-layers and some other paper flowers may have much more than that.
Once your layers are all glued together, feel free to bend petals up + backwards + overlap them with others to make them more 3D. They look just as cute flat though, so just do what you think looks good. I actually timed how long it took me to assemble my flowers (nerdy, I know) – the two-step was 30 secs and the three-step was 45 secs (and that included all the tszujing).
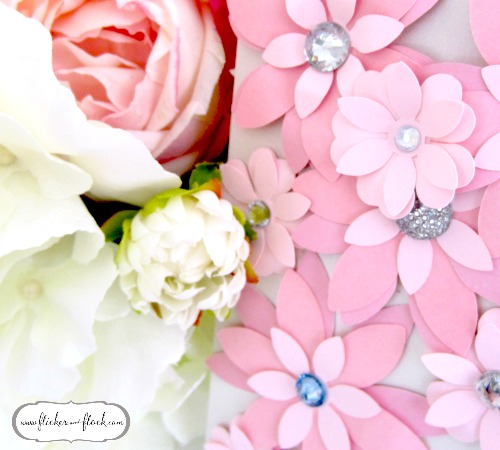
Glue your flowers onto your greeting card however you like. I used 10 flowers in total + kind of bunched them in a cluster if you wanted to do the same. I also used stick-on diamantes to add some bling to the flower’s centre, but this is completely optional!
You don’t have to stick to the pretty pink pastels either – I also did this bright variation using a combo of 2D and 3D flowers, and think I like this version just as much.
Happy Mother’s Day to all the beautiful mums out there. I hope you all have a wonderful day this Sunday. x




These are gorgeous Mel! Thank you for sharing with us at Friday Favourites – I hope you can come and link up with us again this week. I love reading your blog.
Thank you! That’s so lovely of you to say. I have been totally MIA lately dealing with coughs + colds, but hoping to get back into it this week. x
This is gorgeous!! <3
Thanks honey! Hope you had a lovely mothers day. x
What a pretty card, and it makes it special because it is handmade.
I love handmade cards for this very reason – they’re all so special, especially because of all the rough edges!
So pretty! What a fantastic card. Love how effective it looks.
I found you through the Friday favourites link party. ?
Oh yay, I’m so glad you found me! x