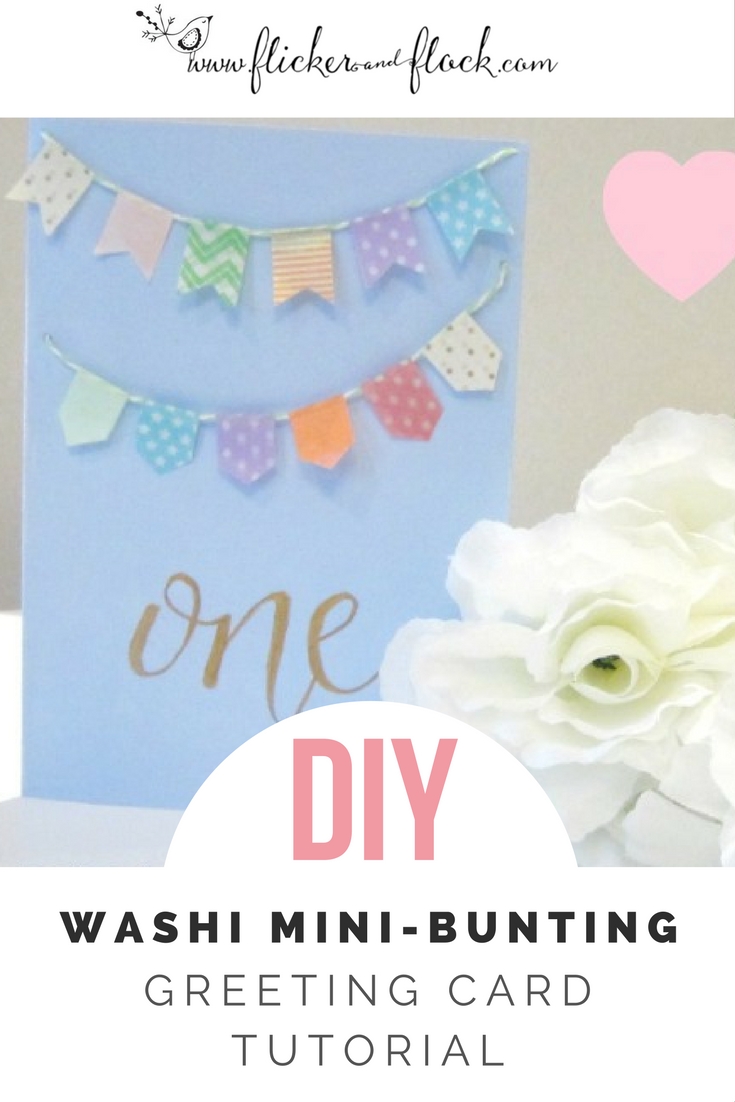
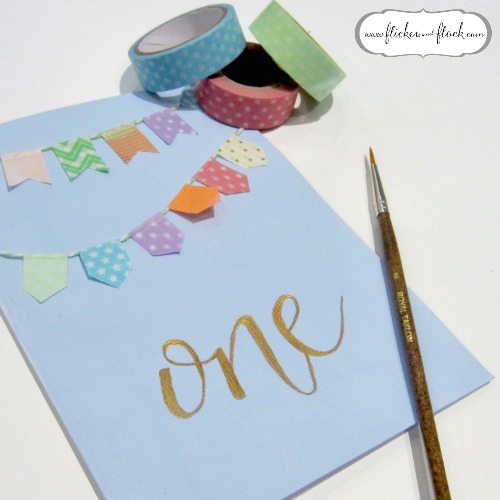
I love bunting, I love washi, I love DIY, I love birthdays + I love my little nephew – so this DIY bunting card I whipped up last week was a match made in heaven!
It was so easy to make and the final product looked so pretty, I think this concept will definitely be on rotation for future card making. I created this one for a certain little man’s 1st birthday, but you could easily adapt the colours + message for anything – a wedding, engagement, anniversary, new baby, graduation – just to name a few.
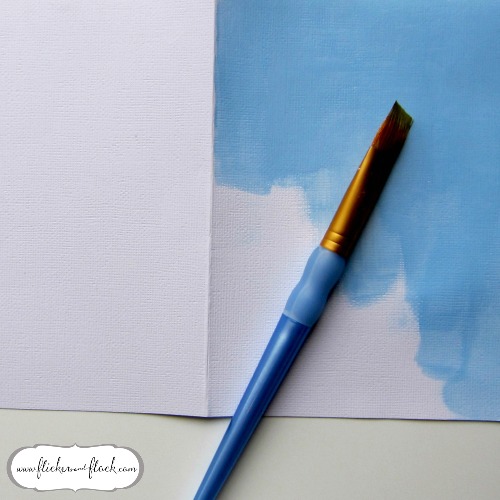
Step 1: Grab a blank greeting card. You could also fold a plain piece of card to size. I actually painted the front of this plain white card to a cornflour blue, so I’d have a colourful backdrop.
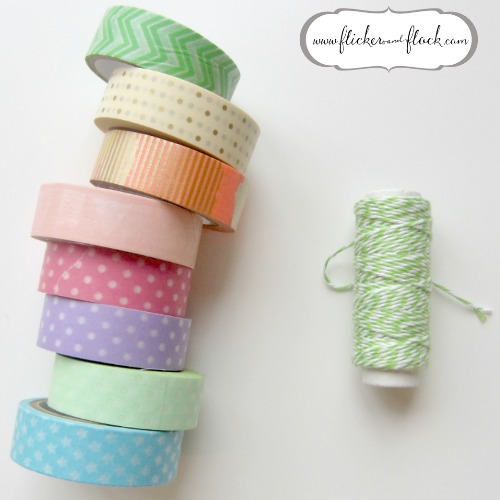
Step 2: Select the washi + twine you want to use. Cut two pieces of twine approximately 1.5 times the width of your greeting card. Never heard of washi tape? It’s a kind of colourful masking tape that originated in Japan, and is now being used to decorate anything and everything all over the world. It comes in a gazillion different colours + can be found in most stationery stores and plenty of online outlets.
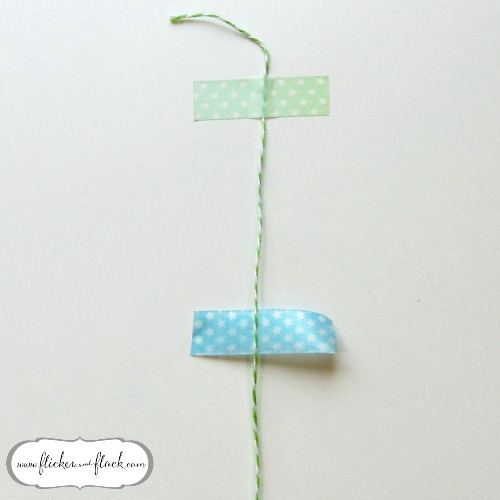
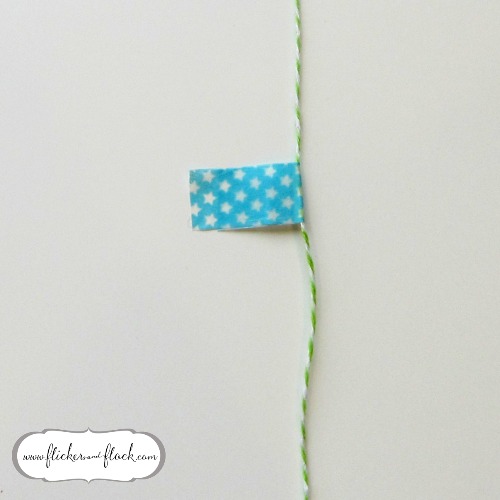
Step 3: Start sticking your washi to the twine. You can use a piece of washi to actually anchor the twine to your benchtop while you do this (which I did with the green piece you see below). Each piece of washi you use for your bunting flags needs to be about 5cm long. One by one, simply lay the piece of tape down and then place the piece of twine in the centre of the sticky bit (like I’ve done with this blue piece of washi).
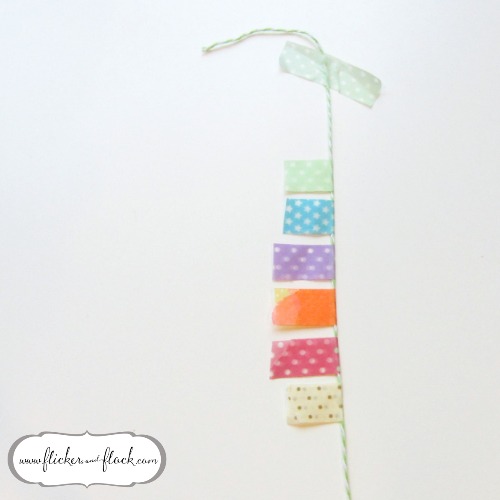
Step 4: Fold over so the piece of washi is stuck together. Make sure the sides of the tape are lined up, and the twine is sandwiched exactly where the fold is. It doesn’t matter if the two ends of the tape don’t exactly line up once you’ve folded, as we are going to be cutting the ends anyway.
Step 5: Repeat until you have a row of little washi flags. Remember you only need enough flags to extend the width of your greeting card; the excess twine is to help us thread + tie the bunting to the card.
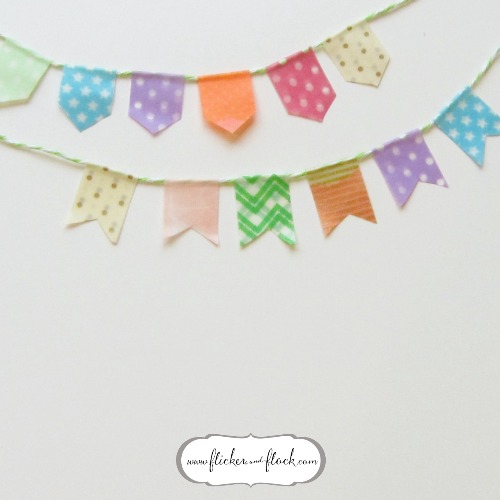
Step 6: Cut the ends to make a neat flag. You can cut these shapes however you choose – I did one row with a point and the other with an inward v.
Step 7: Repeat this process. This will mean that you have 2 (or more) strings of little bunting flags to pop on your card.
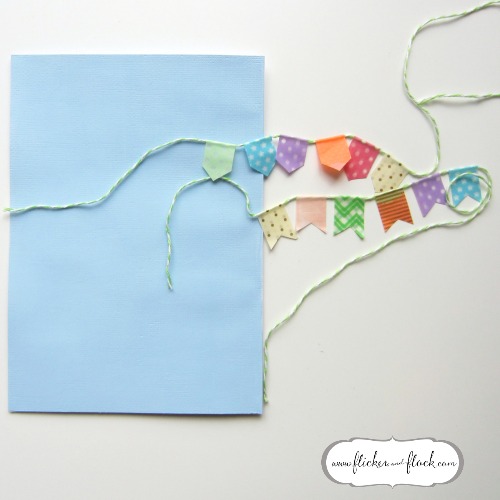
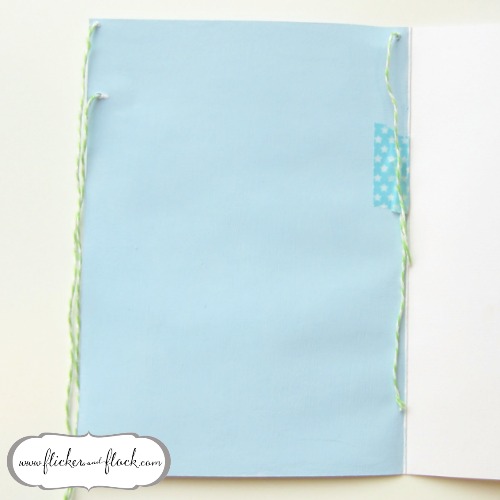
Step 8: Carefully pierce a hole on either side of your card. This will be where your bunting will hang + it certainly doesn’t have to be perfectly parallel. Pull each end of the twine through the relevant hole – you can leave some slack on your twine so that the flags hang down a bit or you can pull the twine tight + taut – whatever you think looks best. Once you’re happy, either knot or glue the twine on the underside so that it stays secure. I actually glued some white flowers over the top to hold it in place while keeping that side of the card looking neat (plus added a couple extra for additional prettiness). Make sure you trim off any excess twine.
Step 9: Add your greeting to the front. I opted for a simple ‘one’ for this 1st birthday card, but you could leave it blank or put anything you like on there to represent the occasion. If you want the word to look pretty but aren’t confident with your handlettering skills, try printing out the word in the font you like + using this as a guide when drawing it yourself onto the card. Remember this is a handmade-with-love card, and part of the charm is in the imperfections so don’t stress if it doesn’t look “perfect”. I then painted my ‘one’ with sparkly gold paint.
So there you have it! All done + looking beautiful. This is definitely a little project that you could get the kids to make or one you can easily whip up at the last minute if needed. You’ll be pleased to know that the bunting theme will continue with a DIY bunting cake topper – coming soon to Flicker & Flock! x




Leave a Reply