I have a terrible confession. It’s April, and I’ve had Christmas artwork hanging in our hallway since last December. For someone who is super-organised, this does not sit well with me. My excuse? Not. Enough. Time. The usual.
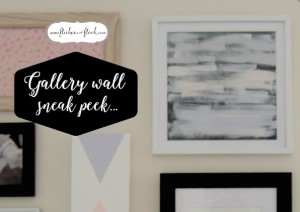
Finally I have got around to doing something about it, and just had to share this little masterpiece that took a grand total of 5 minutes for this time-poor mum to whip up, yay!
For this DIY artwork, I used:
- 12 x 12 piece of textured black card (bought in a pack from Spotlight)
- Flat-bristled paintbrush
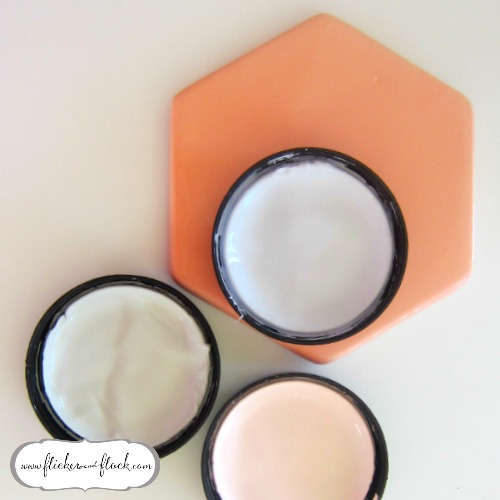
- Testpots of Resene Alaska (blue), Resene Cosmos (peach) + Resene Loblolly (pretty much just chose this one because I love the name… but it’s the green)
- White 12 x 12 frame from Kmart
But you could substitute any of the above to suit your style – this will work on any size or colour of paper, with any type of paint brush, with any colour combo of paints, with any style or colour of frame. Go for it!
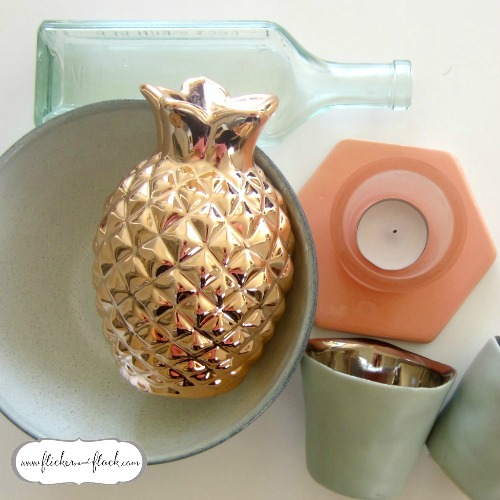
For my masterpiece, I wanted the colour palette to set the tone for the rest our hallway, so I used some of my favourite décor pieces for colour inspiration. I’ve got to say, I’m really loving the combo of warm dusky blue with deep peach for this season; makes a welcome change from the zingy teal + neon pink I’ve had blinging up the place in the last few months! You can absolutely do the same with your soon-to-be-masterpiece and get inspired by the elements or pieces that make your heart sing, be it your garden or bed linen or favourite dress.
How I did this painting:
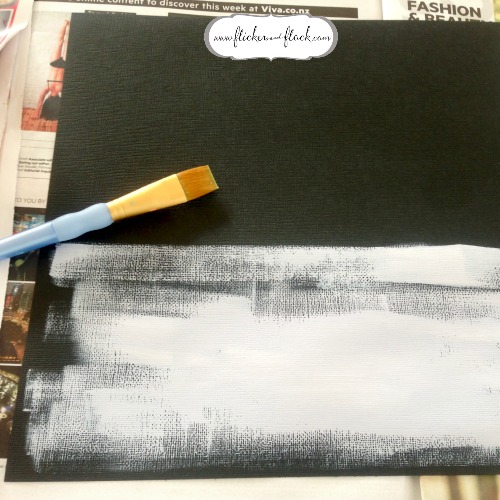
- Placed the card down on old newspaper (to protect my benchtop), and got my paints + paintbrush ready.
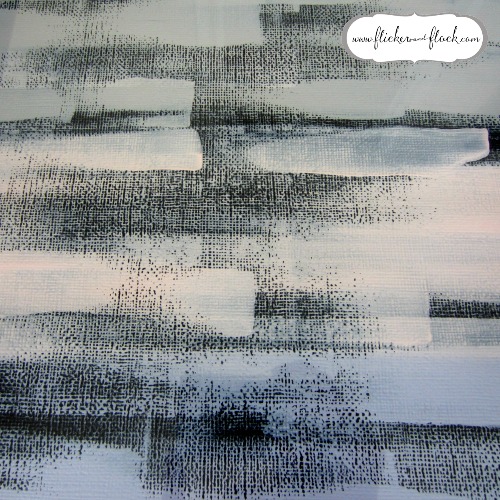
- I started with Resene Alaska at the bottom of the page, and made a straight sweeping brushstroke from right to left, then another from right to left slightly above the first, then another, and so on. I purposefully left the paint coverage uneven, to give the artwork texture and interest.
- I repeated step 2 with Resene Cosmos just above the blue, and then Resene Loblolly just above the pink, and left the painting to dry (which took about 30 secs). Remember it doesn’t need to be perfect, as that’s the charm of it! I tried to keep my brush strokes straightish, but otherwise just did what I thought looked best.
- Once dry, I made a couple of small sweeps with Resene Cosmos over the entire painting to tie it all together (and because I liked this peachy colour the best!)
- When finished, simply pop it into a frame and hang! I used the good ol’ 3M sawtooth picture hanger hook, as so easy to put up and doesn’t leave a mark behind in case I want to change the position.
This 5 minute wonder is now hanging on my first-ever Gallery Wall – something which I have also been dying to do for ages. Here’s a sneak peek, with full how-to coming to Flicker & Flock next week. Until then, happy painting my lovelies! x
[PLEASE NOTE: Everything in this post is 100% my genuine + honest opinion; I bought it all myself, love it all wholeheartedly, and had no specific input from the brands mentioned. x]




Leave a Reply