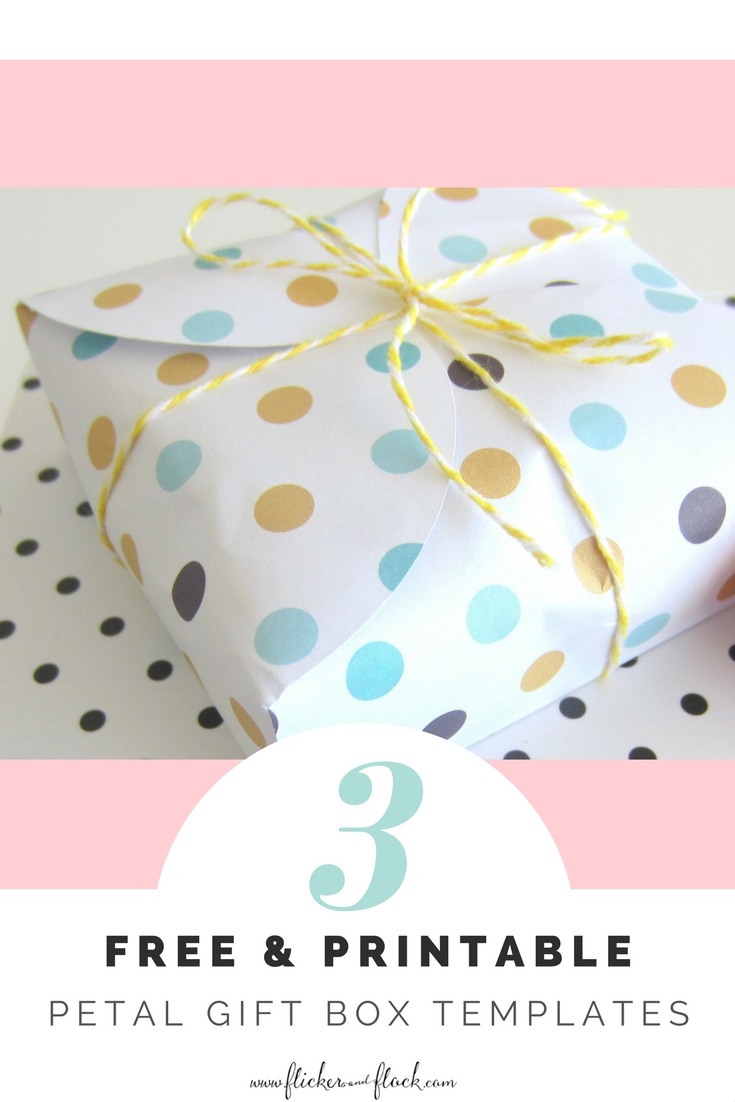
If you like to give out Easter treats to friends or colleagues, this DIY Easter gift box is a really lovely (+ easy!) way to present your goodies.
There are three pretty designs to choose from, so all you need to do is print, cut + assemble. Particularly ideal if you’re in a hurry and need a cute gift box pronto! The FREE printable templates can be downloaded via the form a the end of this post.

I first saw these petal boxes here at Chicfetti Parties, where you can access the template for free too. I used them initially on our Christmas table actually, and filled them with red + green minted chocolates for each dinner guest.
I’ve designed the Easter gift box ones smallish so that they’re easy to pop into a letterbox or handbag, while still allowing enough room for a generous handful of mini-chocolate eggs. Warning – you may accidentally eat some chocolate eggs during Step 6, so have extras handy to avoid running out!
You’ll need:
- A printer – (just an ordinary home printer is absolutely fine)
- Paper – either white A4 if you’re using my templates, otherwise a patterned or coloured paper of your choice)
- A4 Card – not too thick
- Scissors
- Ruler or
- Cellotape or glue stick
- Ribbon or twine for tying
To make your Easter gift box, simply:
- Download the relevant templates from the end of this post. Colour print onto plain paper. If you want a different pattern on the box, you could download the blank petal box template from Chicfetti Parties + then print it out on the paper you want to use.
- Use your scissors to cut out the templates, ensuring you also cut where the dotted lines are to make the tabs. If you have a magic-cutting-machine like a Silhouette or Brother ScanNCut, you can get it to do the cutting for you!
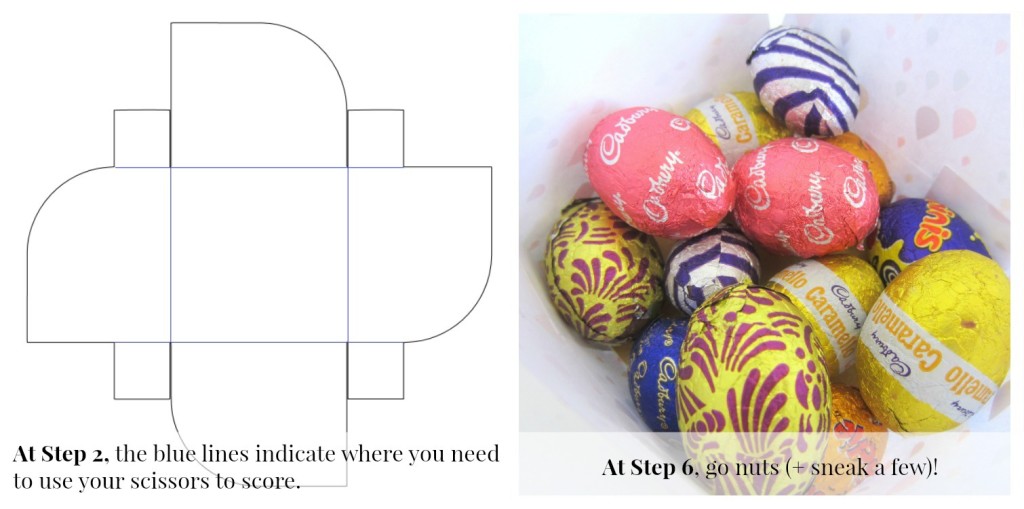
- On the underside, use your ruler + scissors to lightly score the inner edges of the box + then fold. Refer to image below if needed.
- Secure tabs to the relevant side inside of the box. I find cellotape is easiest but you could also use washi or glue, whatever will work best for you.
- Print out the base template onto your piece of card, cut + then place a square in the base of the box to stabilise (tip: one edge is slightly longer than the other so make sure you place it the right way round to ensure a perfect fit).
- Fill your box with Easter goodies (or any goodies for that matter – will work equally well for party favours or birthday treats).
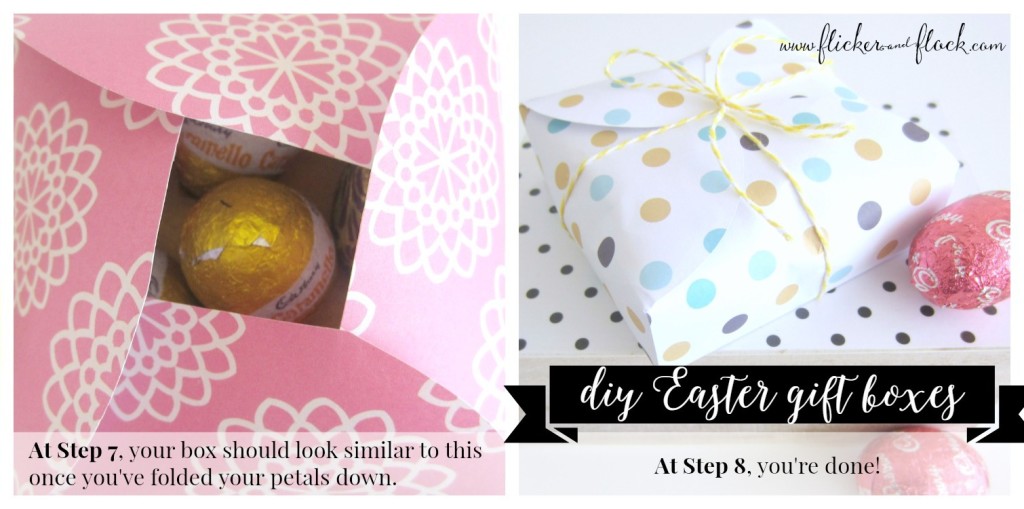
- Bend the “petals” down over the top of your box by starting with one, then round to the next one, then the next one, + with the final one you want to gently tuck it under the others so that you can only see the curved petal sides on top, not the straight edges. Refer to image if needed.
- Secure your box + pull in the petals to conceal what’s in the box by tying a ribbon around it, or using some cotton twine like I did. Refer to image below if needed.


Hope you love creating + gifting these beautiful boxes as much as I do! x

![DIY paper flower card [+ FREEBIE template]](https://flickerandflock.com/wp-content/uploads/2016/05/MDay-card_thumbnail-150x150.jpg)


Leave a Reply